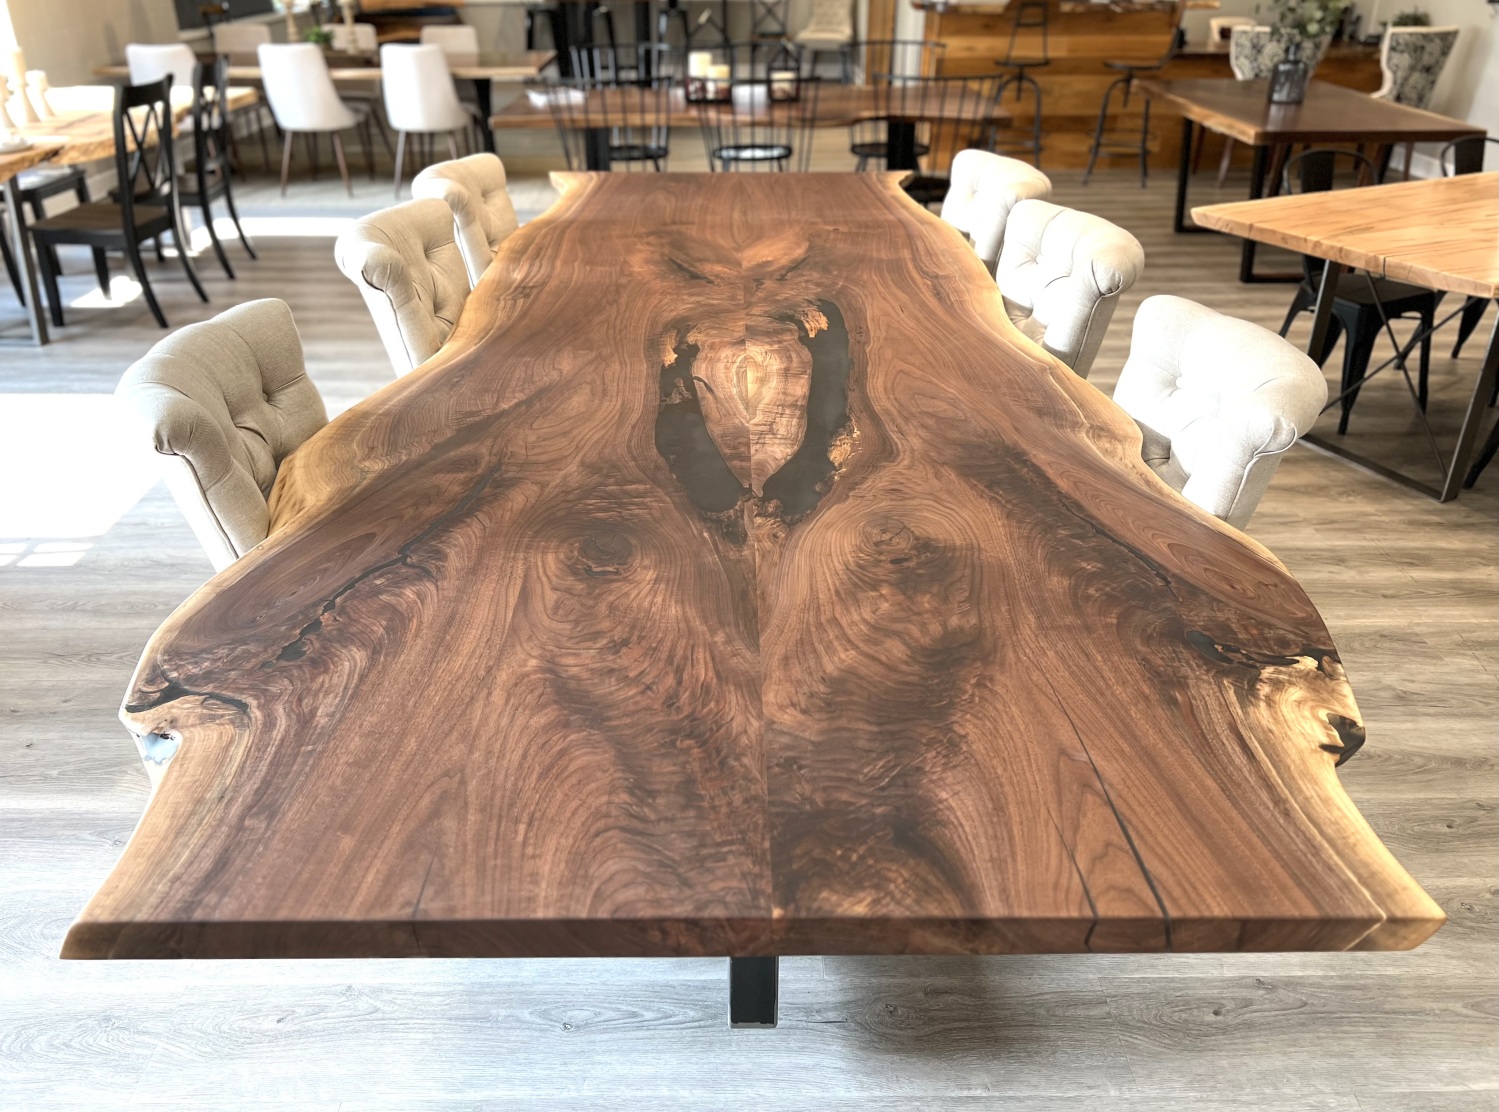
Creating a live edge table can be a rewarding woodworking project, but it requires some woodworking skills and access to the necessary tools and materials. Live edge tables are known for their natural and rustic appearance, featuring the natural edge of a piece of wood. Here’s a step-by-step guide to help you make a live edge table:
Materials and Tools:
- Wood slab: Choose a suitable live edge wood slab. Common choices include walnut, oak, maple, cherry, or any other wood species you prefer.
- Legs: You can use metal or wooden legs, depending on your design preference.
- Wood glue: High-quality wood glue for joining wood pieces together.
- Biscuit joiner (optional): To help align and strengthen joints.
- Clamps: To hold the wood pieces together during assembly.
- Saw: A circular saw or jigsaw to cut the slab to your desired dimensions.
- Planer and sander: To smooth and level the wood surfaces.
- Router: For edge shaping and finishing.
- Finish: A finish of your choice, such as polyurethane, varnish, or oil.
- Safety gear: Safety glasses, ear protection, and dust mask.
Step-by-Step Instructions:
Select and Prepare the Wood Slab:
- Choose a wood slab with an interesting live edge. The size should match your table’s intended dimensions.
- Remove any loose bark, debris, or dirt from the slab.
- If the slab is too large, use a circular saw or jigsaw to cut it to the desired size and shape, keeping the live edge intact.
Prepare the Legs:
- Measure and cut the legs to the desired length. The height of your table depends on your preferences and the intended use.
- If you’re using wooden legs, sand and finish them before attaching them to the slab.
Join the Slab and Legs (If Necessary):
- If your slab is too narrow or you want to add stability, you can join additional wood pieces to the underside of the slab. Use wood glue and clamps for this step.
- If you’re using wooden legs, attach them to the slab securely. Metal legs might come with mounting brackets that you can screw onto the slab.
Smooth and Level the Surface:
- Use a planer and sander to smooth and level the surface of the wood slab. Pay special attention to the live edge, which should be left untouched for its natural appearance.
Shape the Edges (Optional):
- Use a router to shape and finish the edges of the table, adding a decorative profile if desired.
Apply a Finish:
- Apply the finish of your choice to protect the wood and enhance its natural beauty. Follow the manufacturer’s instructions for the chosen finish.
Final Assembly:
- If you’ve detached the legs for finishing, reattach them securely to the slab once the finish has dried.
Enjoy Your Live Edge Table:
- Once everything is dry and secure, your live edge table is ready for use. Place it in your desired location and enjoy its unique and natural beauty.
Remember to take your time, be patient, and prioritize safety throughout the project. Woodworking can be a challenging but rewarding hobby, and a well-crafted live edge table can be a beautiful addition to your home.